Emailhandtekening Apple Mail
Gepubliceerd: 20.03.2023
Emailhandtekening toevoegen aan Apple Mail
Stap 1.
Open het programma Mail op je Apple MAC.
Klik in de linker boven hoek op Mail.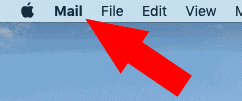
Stap 2.
Klik op Preferences, er verschijnt een scherm.
Klik in dat scherm bovenaan op Signatures en het Handtekeningen menu verschijnt.
Stap 3.
In het Handtekeningen menu klik je onderaan op het Plusje +.
Geef je handtekening een naam.
Hier kun je je handtekening maken: als je er plaatjes in wilt kun je die er in slepen. Vul de handtekening in met place holder tekst, deze tekst word later overschreven.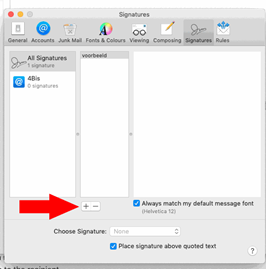

Stap 4.
Ga naar Finder en klik bovenaan in de menubalk op Go.
Klik op Go to Folder… Er verschijnt nu een scherm.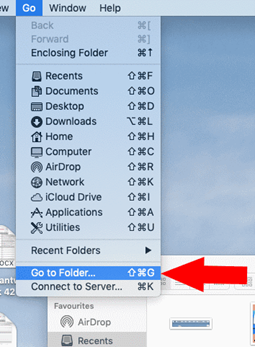
Stap 5.
Type in het balkje ~/library/Mail.
Open de map V met vervolgens het hoogste getal er naast.
Open de MailData map.
Open vervolgens de Signatures map en zoek het bestand met de laatst Modified datum en tijd.
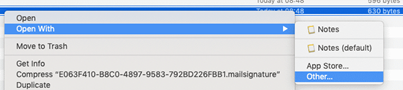
Klik met rechter muisknop op dit bestand, beweeg met je muis naar Open With.
Klik op Other...
Zoek in deze lijst naar TextEdit en klik op Open.
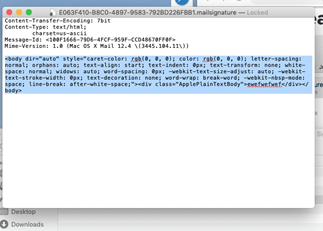
Stap 6.
Verwijder alle tekst vanaf <body en plak hier je html code.
Sla het bestand op door CMD + S tegelijk in te drukken.
Klik in het scherm naast de bestandsnaam op het pijltje dat naar beneden wijst.
Klik op de checkbox naast Locked zodat er een vinkje in staat.
Je bent nu klaar! Het venster kan gesloten worden. Na het herstarten van het programma Apple Mail is je mailhandtekening te gebruiken.